Top 10 Phone Photography Hacks That Can Totally Change Your Pictures
Smartphones have revolutionized the world of photography. With powerful cameras on phones like the iPhone, Samsung Galaxy, and Google Pixel, it's easier to capture professional-quality images. However, even with the best hardware, many people still struggle to get the most out of their phones' cameras—the secret lies in mastering a few key techniques that can completely transform your photos.
In this article, we’ll cover the top 10 phone photography hacks that can elevate your picture-taking game and help you create stunning, pro-quality photos.
10. Edit Your Photos for a Polished Finish
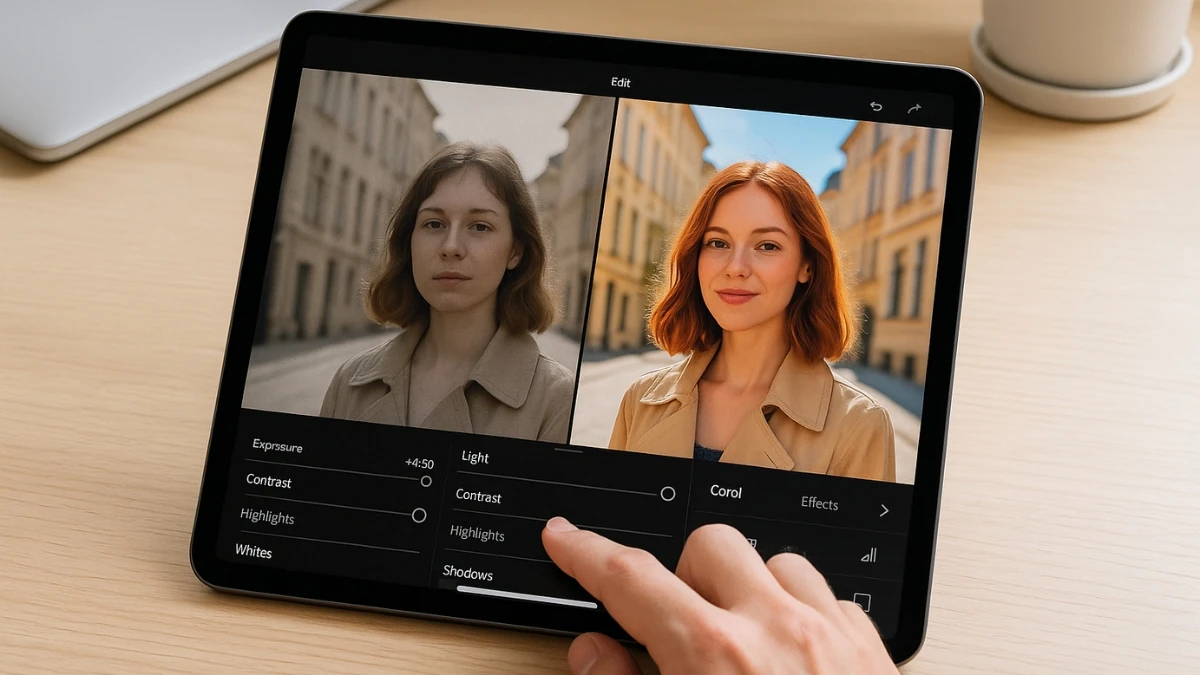
Finally, editing your photos is key to making them truly shine. Even if you’ve taken a great shot, small tweaks can elevate it further.
Apps like Snapseed, Lightroom Mobile, and even built-in editing tools on iPhones or Android devices allow you to adjust brightness, contrast, sharpness, and saturation, giving you full control over how your image looks.
9. Try External Lenses for Enhanced Creativity

If you want to expand your creative possibilities, consider investing in external lenses. Brands like Moment offer a variety of add-on lenses, including macro, wide-angle, and telephoto lenses.
These lenses attach to your phone and give you a much wider range of photography options, allowing you to capture more detailed close-ups or vast landscapes that your phone’s built-in lens can’t quite handle.
8. Use Burst Mode for Action Shots

Capturing fast-moving subjects can be difficult, but burst mode makes it easier. By holding the shutter button down, your phone will automatically take several frames per second, increasing your chances of getting a clear, sharp shot of a moving subject.
Whether you're photographing a pet in action, a child running, or a sporting event, burst mode can help you capture the perfect moment.
7. Shoot in RAW for Maximum Flexibility in Editing
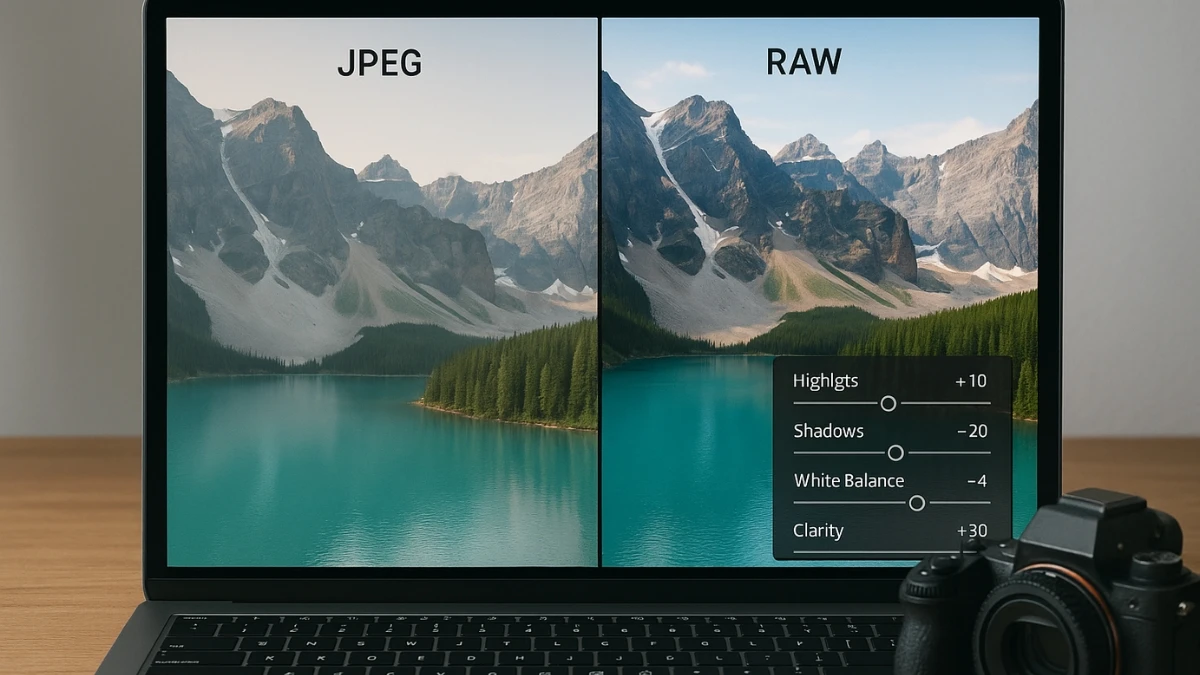
For those who are serious about editing their photos, shooting in RAW format is a game-changer. RAW files retain much more data than JPEGs, which gives you more flexibility when adjusting exposure, color balance, and sharpness in post-processing.
Both iPhones and many Android phones offer a RAW option, and if your phone supports it, this setting can improve your editing results.
While RAW files take up more storage space, they’re worth it if you plan on making substantial edits to your photos.
6. Clean Your Lens for Sharper Photos
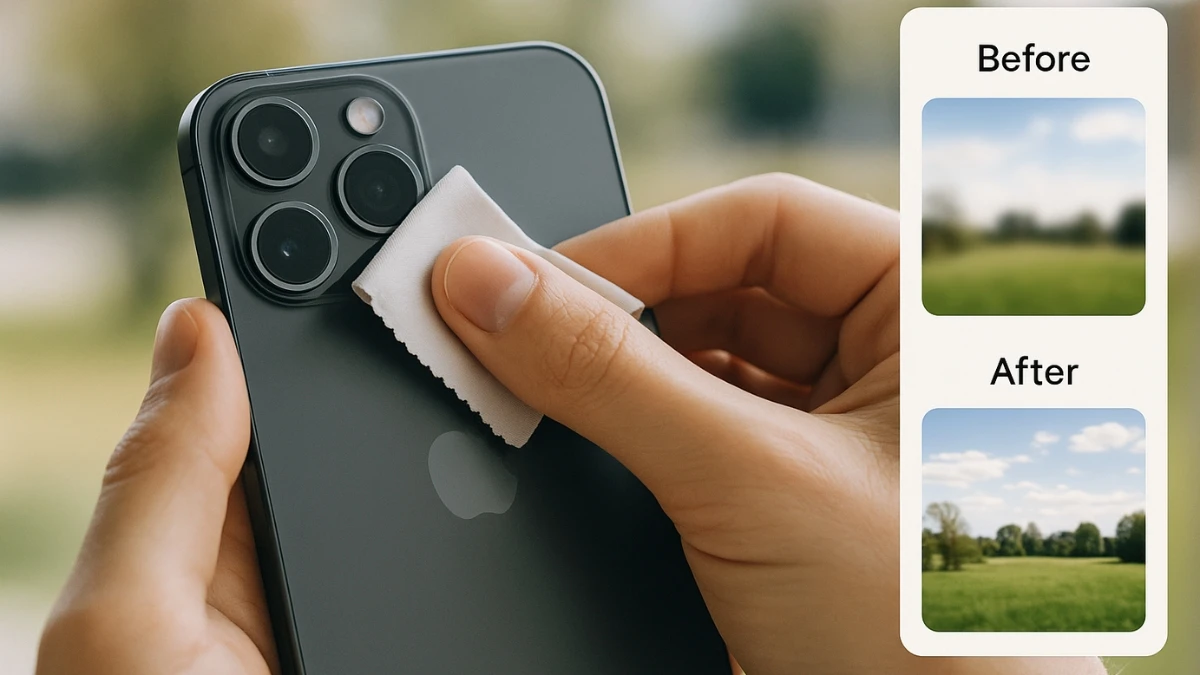
It sounds simple, but cleaning your lens can drastically improve the clarity of your photos. Smartphone lenses collect dust, fingerprints, and smudges, all of which can result in blurry or hazy images.
Make it a habit to clean your lens with a microfiber cloth before you start shooting. This quick fix will help prevent blurry shots and ensure that every image is as sharp as possible.
5. Use Portrait Mode for Stunning Depth
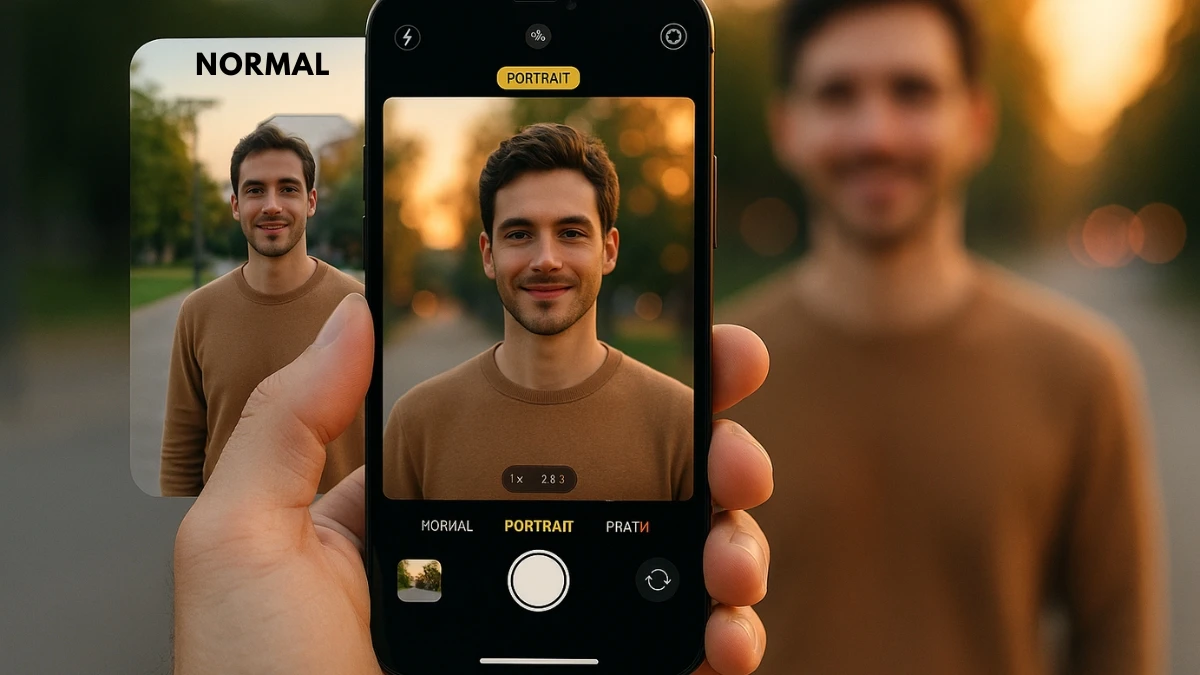
Many modern phones have portrait mode, which creates a beautiful blurred background, or “bokeh effect,” similar to a DSLR camera with a wide-aperture lens. While this mode is most commonly used for portraits, it can also be effective for shooting objects, pets, or even food, adding a sense of professionalism to your photos.
Portrait mode helps isolate the subject by creating a pleasing depth of field, which makes your photos look more polished and artistic.
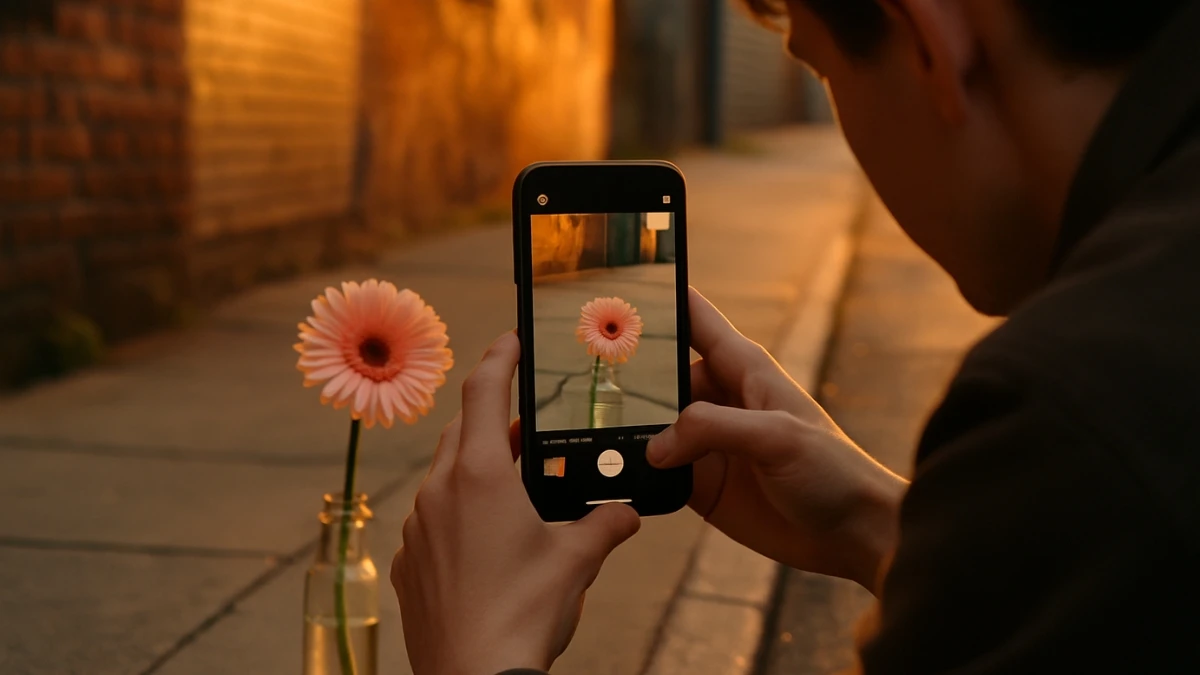
4. Tap to Focus and Adjust Exposure for Better Results
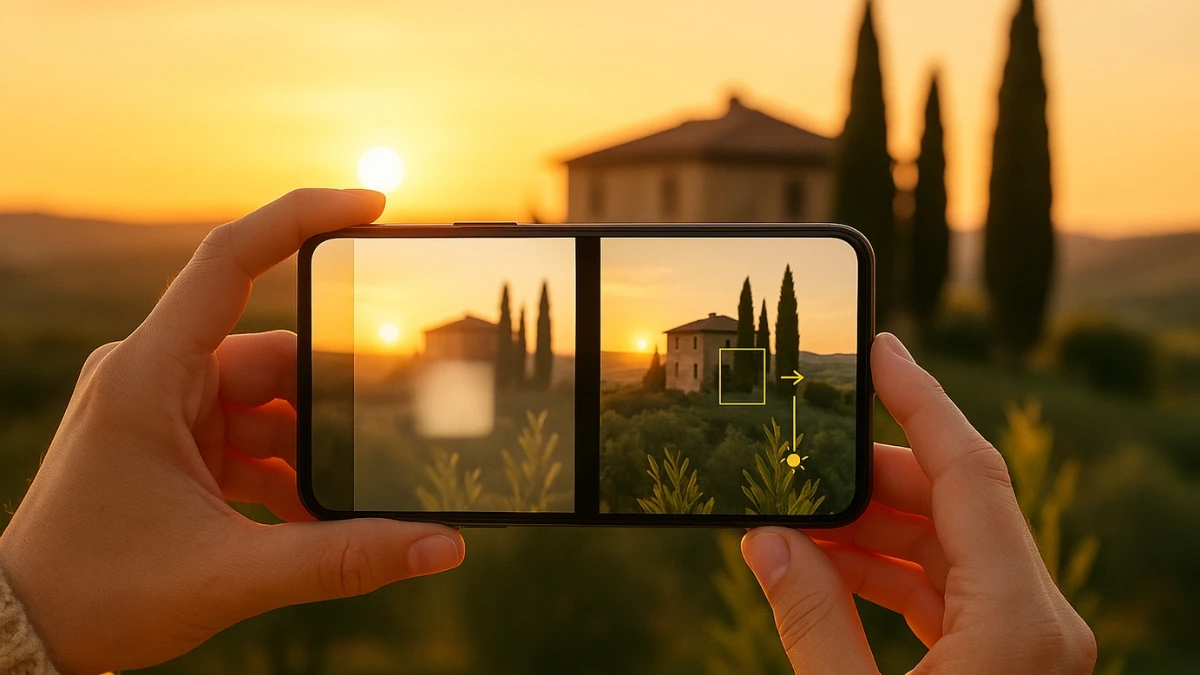
When taking a photo, always tap to focus on the subject. Phone cameras often automatically focus on the center, but this isn’t always what you want. By tapping on the screen, you ensure that your subject is sharp and in focus.
Additionally, most phones allow you to adjust exposure (brightness/darkness). Play around with exposure by sliding up or down to brighten or darken the image. This adjustment can give your photos more depth and enhance their overall look.
3. Use Grid Lines to Nail Composition

One of the simplest yet most powerful tools you can use for better photos is enabling grid lines. Both Android and iOS phones allow you to activate a grid overlay on your camera screen. This grid follows the rule of thirds, which divides the frame into nine equal sections.
By positioning important elements along these lines or their intersections, your photos will appear more balanced and visually appealing. This hack is especially useful for landscapes, portraits, or any photo where you want to create a sense of harmony.
2. Look for the Right Light: Lighting is Key
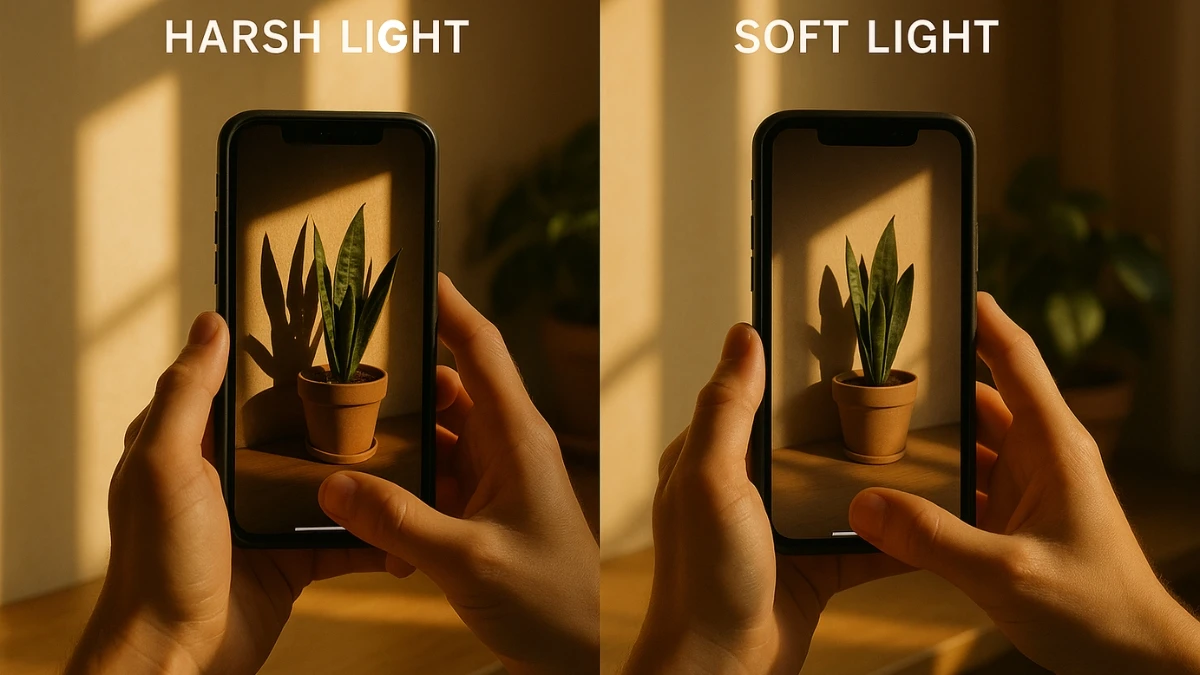
No matter how advanced your phone’s camera is, lighting remains the most critical factor in creating stunning photos. While smartphone cameras handle low light better than ever before, nothing beats natural or ambient light. Whether it’s soft sunlight streaming through a window or the dramatic glow of street lamps at night, great lighting can enhance the quality of your images.
Avoid using your phone’s built-in flash unless necessary, as it can create harsh shadows and unflattering lighting. Instead, find a light source that complements your subject and brings out the best in the scene.
1. Shoot With Intention: Think Like a Professional
Before diving into settings and tools, the most important hack is to shoot with intention. Many phone users grab their device and snap a quick photo without thinking about the composition or lighting. To truly improve your photos, approach each shot like a pro photographer: slow down, compose your shot, and think about the light, subject, and framing before hitting the shutter.
This mindset shift will help you produce better images, whether you’re shooting a landscape, a portrait, or an action shot. This simple change in your approach can make all the difference between a snapshot and a professional-grade photo.
How to Use Focus and Exposure for Better Shots?
Proper focus and exposure are crucial for clear, sharp, and well-lit photos. Often, phone cameras automatically focus on the center of the frame, but this may not be ideal for every shot.
Simply tap on the screen where you want to focus, and most phones will automatically adjust the exposure based on your selection. You can also manually adjust the exposure to make your images brighter or darker, depending on the lighting situation.
Frequently Asked Questions (FAQs)
Can I use these phone photography tips on any phone?
Yes! These tips work on most modern smartphones, whether you have an iPhone or an Android device. Some features, like RAW mode, may be available only on certain models, but most of the hacks can be applied to any phone.
Do I need extra apps to edit my photos?
You don't need extra apps, but using editing apps like Snapseed, Lightroom Mobile, or VSCO can make your photos look even better.
How can I avoid blurry photos?
To avoid blurry photos, hold your phone with both hands and keep it steady. If you’re in low light, try using a tripod or the timer feature to keep the phone stable.
Does shooting in RAW take up a lot of space?
Yes, RAW images are larger and take up more storage space. If you shoot in RAW, you may want to manage your phone's storage regularly.
Disclaimer
This article is intended to help improve your phone photography skills. Results may vary depending on the phone model you use, and some features might not be available on older or budget phones. These tips cannot replace professional cameras, but they can make your smartphone photos look much better.